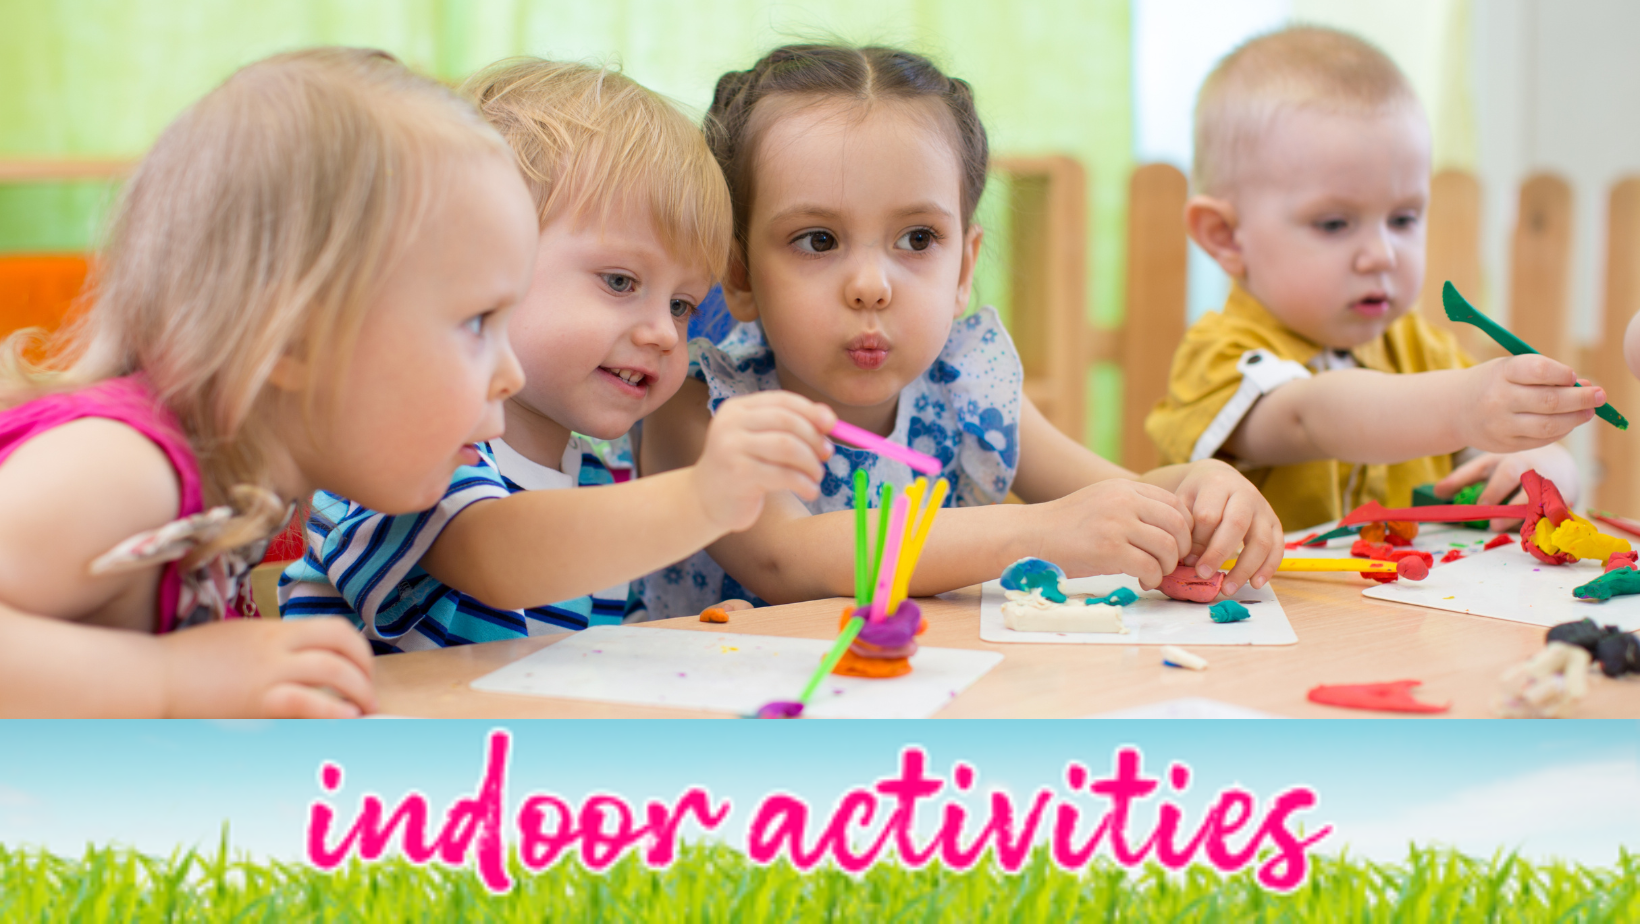
when the Summer holidays are in full swing and you're running out of ideas to keep the kids entertained, we're on a mission to help fill your weeks ahead with some easy and cheap craft activity ideas for kids
Wondering how on earth to keep the kids entertained for 6 weeks straight?
Coming up with new ideas every day can be a drag and keeping them away from their screens can be so difficult!
Here are 6 more essential easy craft ideas for entertaining the kids this Summer, for when it's not so sunny outside!
1- ROCK PAINTING
It's one of our favourite, go-to crafts here at the Home Crafters and one we will be showing you how to do over and over again! So simple and easy and can keep the kids entertained for hours. All you need is a few foraged stones and pebbles and some paints or paint pens and marker pens and you're away!
You can paint anything you want on your stones and use them as decorations around the home or garden. Some people even have local community groups who leave them around public areas for others to find, a bit lke geocaching with stones!
Ideas for your stones can include:
- Paint your stones to look like fruit and vegetables and use them to mark your crops in the garden or allotments
- Draw pictures of you pets or make up your own furry friend and have a pebble pal
- Pick your favourite cartoon or comic book characters and paint their faces or symbols on them
- Paint mandalas and patterns on your pebbles and gift them as paper weights to friends and families
- Create some sunny, beachy scenes or paint a picture of the best place you visited this Summer

2- CREATE A TWIG WINDCHIME
After you've foraged in the woods and parklands (see our previous blog) you will no doubt have lots of materials to work with indoors when the weather isn't very nice outside!
Well, why not gather together some of the sticks and twigs you've found and make a fab little garden decoration out of them?
(craft idea by Sprouting Wild Ones)
All you need for this one is a bunch of twigs and some twine, you can add paint to make it more colourful if you like but it's not essential.
Collect sticks, paint them, then tie them together in any way you please to make them hang and clang together in the wind. Then hang your chime from a tree or bush or pergola and watch it rattle in the breeze. If you're feeling extra crafty you can add other bits and pieces to your creation to make it clang and chime even more in the wind!
Extra bits you can tie to your chime include:
- Beads
- Jingle Bells
- Dried Pasta Tubes
- Pine cones
- Feathers
- Chopped up bamboo canes
3- FORAGED WORK OF ART
While we're on the subject of your foraged craft supplies....
A great and simple indoor activity is putting them all together into a work of art! All you need is a large piece of paper or card, some glue and a bit of imagination!
Gather your materials in front of you, maybe put them in groups of colours or textures and have a pot of glue to hand, perhaps an old paste brush or glue spreader too for quicker application. Then decide what images you want to create...
It can help if you sketch out your design to start with in pencil but you don't have to.
You can create a scene from the woods where you found your materials, or why not spell your name out with your fauna? You could even try to build a picture of your favourite woodland animal or your family pet! The possibilities are endless!
4- DIY FLOWER PRESS
Flower pressing has been around since the middle ages as a means to preserve the fragile beauty of nature and its a craft that still endures today.
Once flowers have been 'pressed' and dried out they can be used in all sorts of crafts like the ones mentioned above but also in more classic crafts like resin work and jewellery making.
You can buy flower presses from most art and craft hobby stores but you can just as easily make one at home! Homemade presses are made with items you can easily find around the house. These include corrugated cardboard, newspaper or blotting paper, tissue paper or paper towels, flat boards, heavy books, and bricks.
How to press your flowers:
Place flowers and foliage between two sheets of tissue paper, paper towel, or any thin, porous paper.
Take time to arrange the flowers the way you would like them to appear once dried. Carefully surround the porous paper holding your flowers and foliage with absorbent paper. Newspaper is the cheapest and most easily available. Blotting paper is more expensive but is more absorbent and can be reused.
We recommend using 3–12 sheets of folded newspaper to absorb moisture. If you use the lower number of sheets, replace the newspaper with fresh dry paper on a daily basis for several days and then every few days thereafter.
Make sure you do not disturb the flowers and foliage or remove them from between the sheets of porous paper during the drying process otherwise they will wrinkle and curl. You can dry flowers in layers by using corrugated cardboard to separate each layer.
The drying chamber that you have constructed must be weighed down. Place flat boards above and below and weigh the press down with heavy books or bricks. It will take approximately 2–3 weeks for your flowers to dry.
Why not have a look at this brilliant idea by Little Pine Learners for step by step instructions to make your own affordable press!
5- MONSTER DICE GAME
We stumbled across this idea while browsing craft ideas on Google and thought it was awesome. This one is sure to keep the kids happy for a good few hours and, again, uses very few craft supplies. In fact all you really need is colouring pens, pencils or crayons!
Craft Corner DIY have a simple version of this game using a standard 6 sided dice from any boardgame and free printout whereby all you do is roll the dice and draw the corresponding limb on your monster for a set amount of time or rolls - at the end of the game you can laugh at what you've created and colour them in!
To make the craft last longer, however, you could also make your own dice!
Click here to visit our craft resource pages and download your dice template. Then trace or copy it onto some thin card (the side of a cereal box works wonders)
To make it a bit more fun we even have a 10-sided dice template you could use instead!
Inside each dice-face box draw an appendage, pattern or instruction of your choice. Colour it in if you want! Then simply fold along the lines and glue the tabs together to make your own Monster Creator Dice!
ideas for what you can put on the sides of the dice include:
add one arm, add one leg, add an eye, add some stripes, add some polka dots, add some ears, draw some horns, give it a name, swap your monsters with another player, turn your monster upside down
The game can go on for as long as you like, roll the dice and draw the appendage, pattern or follow the instruction. Keep going until your monsters are complete (you decide when!) or when your set timer goes off and then finish them by colouring them in and showing them off!
6- SEW YOUR OWN SCRUNCHIE
Perhaps one for the more dextrous children, this is a simple entry-level craft into the world of needlepoint and sewing! And who doesn't love a scrunchie?
The bits you will need for this craft are:
- Fabric scraps and off cuts - even an old t-shirt that no longer fits will do
- Some fabric scissors and a tape measure
- Elastic (6mm or 9mm wide)
- 2 large safety pins (for threading elastic)
- Sewing materials - depending if you will use a machine or hand sew
you will need thread, a needle and some pins to hold the fabric in place
How to make your Scrunchie:
- Cut your fabric 12cm x 45cm (approximate)
- Measure your elastic by the size of your wrist and leave some space for a knot (approx 12-20cm)
- Turn over the short ends of your fabric and sew a rough hem
- Fold your fabric length wise – right side inside, wrong side out. And sew 0.5cm from the edge – either by sewing machine or by using a back stitch (nice and strong)
- Turn your tube right side out (we find a ruler really helps with this!)
- Secure your elastic to ONE end of the long tube with a safety pin
- Attach the second safety pin to the other end of the elastic and use this to feed the elastic through the tube
- Knot the two ends of elastic together
- Overlap the two ends of the fabric and sew shut
we have borrowed the brilliant Red Ted Art's directions for this simple scrunchie method - you can watch their full how-to instructional video here
________________________________
that's 6 fun ideas for Indoor Activities kids can do in the Summer Holidays (or any time they have spare!) and the best thing is that most of the craft supplies are free, cheap or foraged! (from outside the house or inside the kitchen cupboards!)
keep an eye out for #3 Back to School Activities for crafty makes that will help to get the kids back in the mindset for school/nursery
until next time